Tutorial
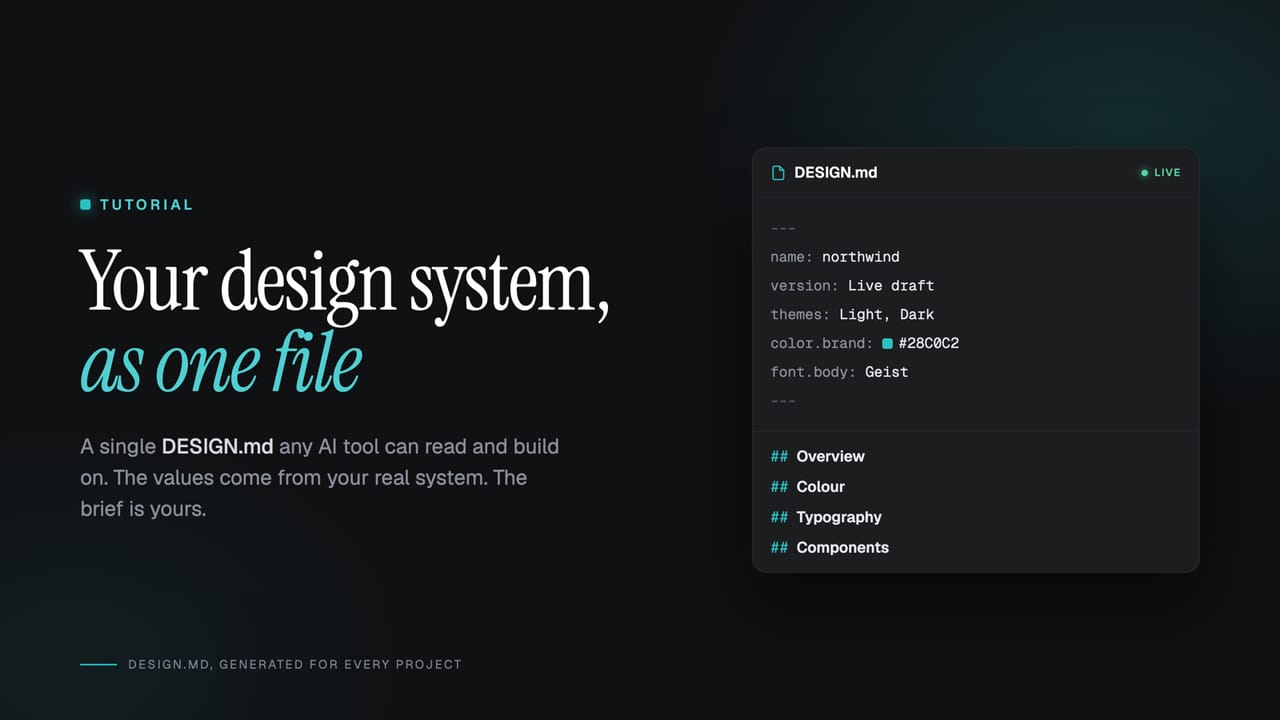
DESIGN.md: your whole design system in one file any AI can read
A DESIGN.md file describes your entire design system in one document, so a generative design tool can build on the real thing instead of guessing. Here is what it is, why it matters, and how to use yours.
Generative design tools are genuinely good now. Ask one for a settings screen or a pricing page and you get something usable in seconds. But it does not know your brand. It guesses your colours, invents spacing, and picks a font it happens to like. The result looks fine on its own and looks nothing like your product.
A DESIGN.md file fixes that. It is a single document that describes your whole design system in plain text, so any tool that can read a file builds on your real system instead of guessing. Every Zaklad project generates one automatically. This guide covers what it is, what is inside it, and how to get the most from yours. No account needed to follow along, though by the end you may want one.
What a DESIGN.md file is
If you have ever seen a README.md in a code project, you already know the shape. Markdown is just text with light formatting. A DESIGN.md is the same idea pointed at design: one file, readable by a person and a machine alike, that captures your colours, type, spacing, and components in one place.
It follows a simple, open convention. The top of the file is a block of structured values: every colour, font, size, and component spec. Below that is plain prose explaining how the system is meant to be used. The values are something a machine can apply exactly; the prose is rules a person, or an AI, can follow.
The point is portability. No install, no plugin, no account on the other end. You hand over one file and the tool has everything it needs. The docs describe the same idea under DESIGN.md, the single-file handoff.
What is actually inside
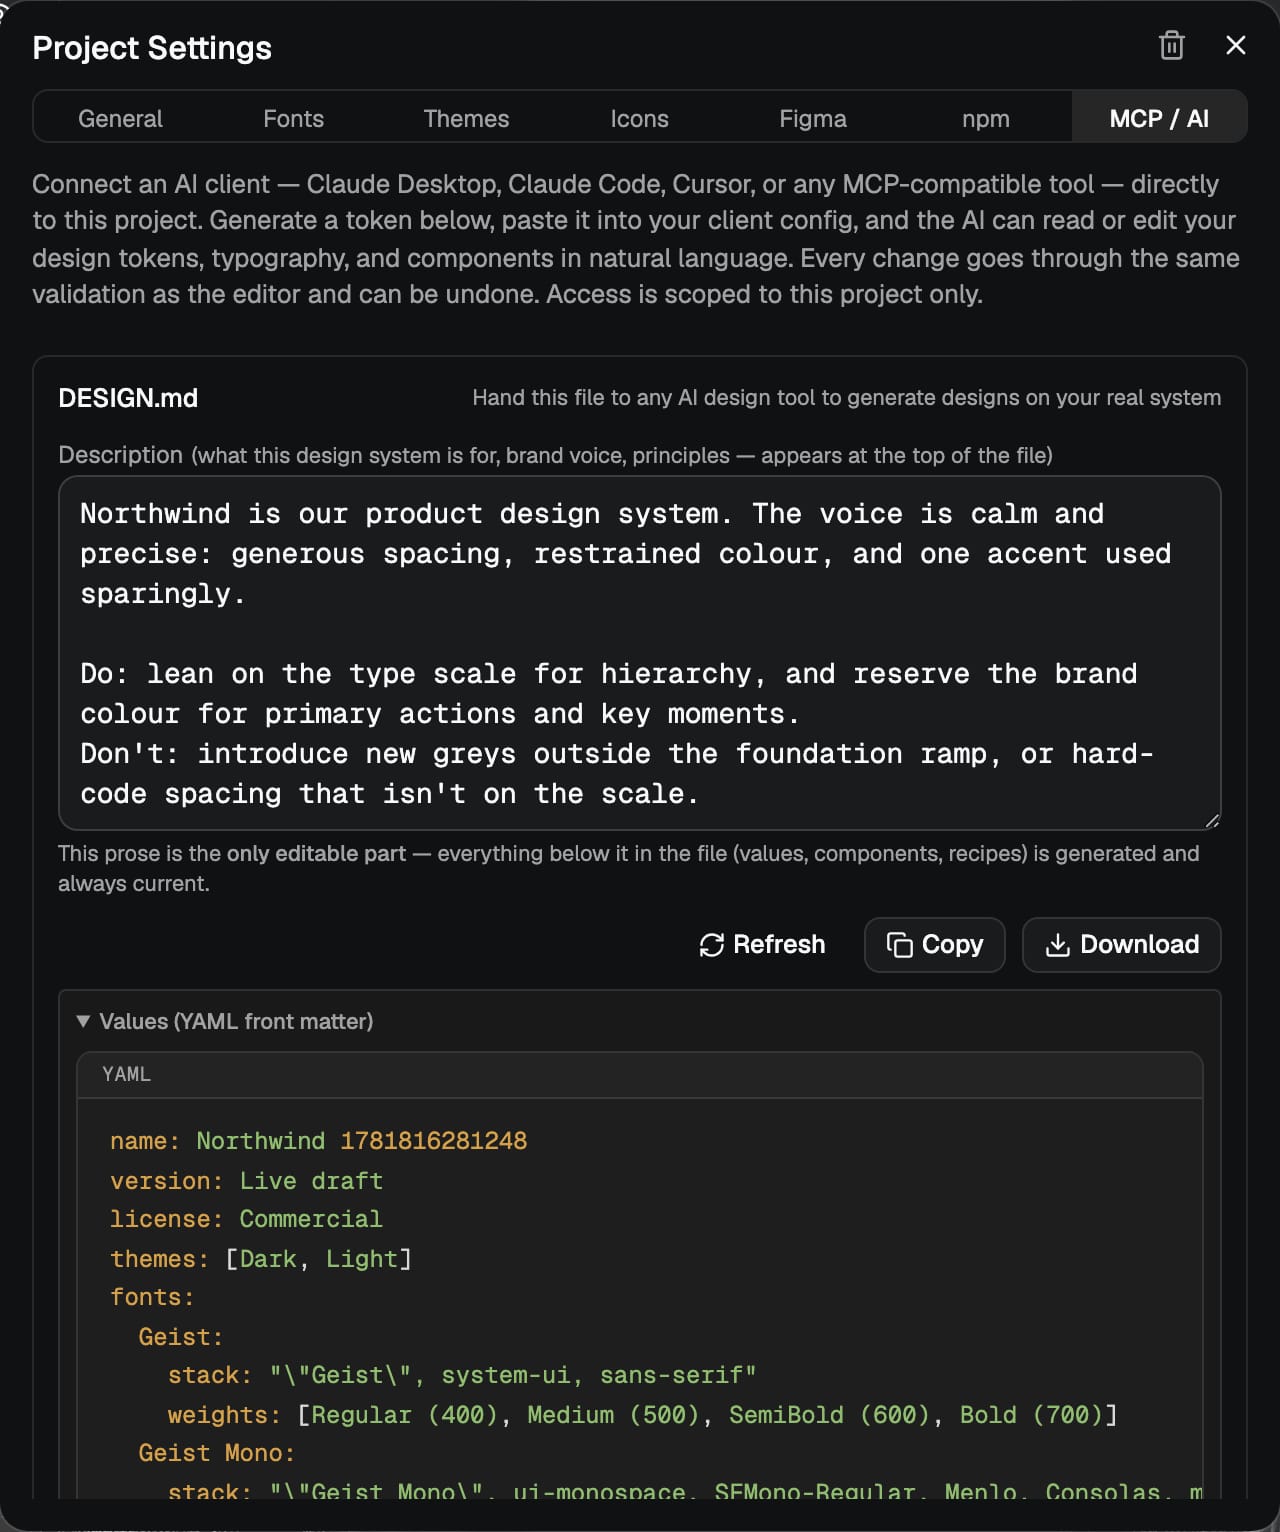
Open one and you find two halves. The first is the front matter: a structured list of resolved values. Not "primary blue" but the exact colour for every theme, the real pixel sizes for each type role, the spacing scale, and each component's anatomy. Here is a trimmed slice from a real file:
---
name: Northwind
version: Live draft
themes: [Dark, Light]
fonts:
  Geist:
    stack: "Geist, system-ui, sans-serif"
    weights: [Regular (400), Medium (500), SemiBold (600), Bold (700)]
colors:
  semantic:
    color.text.default: { Dark: "#F3F5F8", Light: "#1D1F23" }
    color.container.primary.default: { Dark: "#7A97FD", Light: "#5B76E2" }
    color.border.default: { Dark: "#5E646B", Light: "#B5BBC2" }
typography:
  Body / Default:
    family: Geist
    weight: Regular (400)
    M: { size: "16px", leading: "24px", tracking: "0%" }
spacing:
  padding.default: "8px"
  gap.default: "8px"
rounded:
  border.radius.default: "8px"
components:
  Button:
    variants:
      variant: [primary, secondary, outline, destructive, ghost]
    rest:
      primary: { text.color: "{color.text.inverse.default}", frame.backgroundColor: "{color.container.primary.default}" }
    states:
      hover:
        primary: { frame.backgroundColor: "{color.container.primary.hover}" }
---
Because the values are resolved, a tool never has to interpret an abstraction. It reads that color.container.primary.default is #5B76E2 in Light and #7A97FD in Dark, and uses it. Components are described as deltas: a primary Button starts from its rest slots, and only the values that change on hover are listed. That keeps the file small enough for a tool to read in full.
The second half is prose. It explains intent, names the intended token pairings, and lists the do's and don'ts. It refers to tokens by name rather than repeating the numbers, so there is one source of truth and the file can never contradict itself.
The one part you write, and the part that writes itself
This is the bit worth understanding. Almost the entire file is generated from your live project. You do not maintain it. Change a colour in the editor and the file reflects it the next time anyone reads it.
There is exactly one section you author yourself: a short description at the top. This is where you say what the system is for, the brand voice, and any principles a tool should know before it touches your tokens. Think of it as the brief.
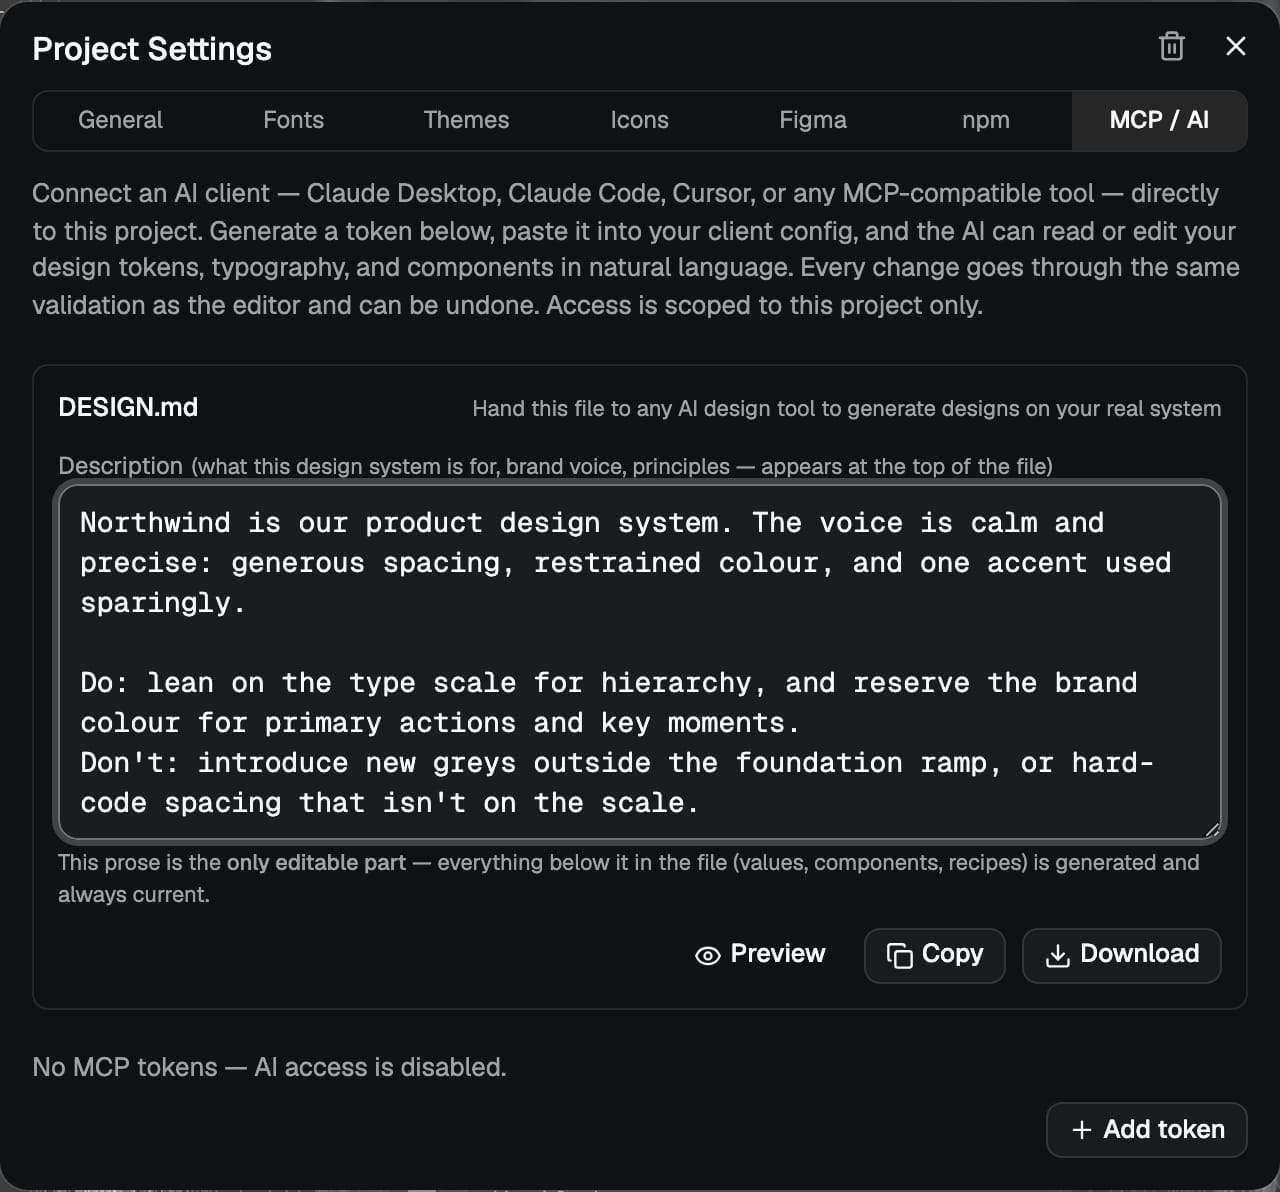
Everything under it, the values, components, and recipes, is machine produced and always current. You get the accuracy of generated data and the context of a human brief, without the two ever drifting apart. Hit Preview and you see the whole composed file: your words on top, the generated reference below. Designers get the same summary under DESIGN.md in the docs.
Why this is worth your time
Three things make it more than a convenience.
- It builds on the real thing. The tool works from your actual colours, type, and components, so what comes back looks like your product, not a generic template.
- It cannot go stale. A hand-written brief is out of date the moment someone changes a token. This is rebuilt from the live system every time, so it always reflects today.
- It travels anywhere. One file, no setup. Any tool that reads an attachment can use it, and cutting a release freezes a copy to that version, so a prototype and the system it was built from stay in step.
One sensible boundary comes built in. Prototype freely from the values in the file, but ship production from your generated package, where the tokens and components live as real code. The file is for designing and exploring fast; the package is what you build the finished product on. The file says exactly this, right at the top, so a tool knows the difference too.
How to use it, step by step
1. Find your file
Every project has a DESIGN.md button in the editor header. It gives you three things: Copy puts the whole file on your clipboard, Download saves it as DESIGN.md, and Edit opens the section you write. It is there from the first day of a project; you do not have to publish anything to use it.

2. Hand it to a tool
Pick your generative design tool of choice. Start a conversation, attach or paste the file, and ask for what you want. A first prompt might be:
Here is our design system as a DESIGN.md file.
Build a billing settings page using only these tokens and
components. Use the exact token names, and follow the do's
and don'ts in the file.
The tool reads your resolved values and component anatomy and produces something on your system. Because the rules travel with the file, it knows to reach for the nearest existing token rather than invent a new one.
We are deliberately not prescribing one tool. Claude reads attached files well and is a good place to start, and the wider set of generative design tools keeps growing. The file works with any of them, in a browser, a desktop app, or anywhere that accepts a file attachment.
3. Write a good description
The default file is useful on day one, but five minutes on the description makes it noticeably better. Worth including:
- What the system is for, and who uses it.
- The brand voice, in a sentence or two.
- A short do's and don'ts list. For example: reserve the brand colour for primary actions; never introduce greys outside the foundation ramp.
These land in the file as the author's preferences, right where a tool reads them first. Keep it tight. This is a brief, not a manual.
Let your own AI write it for you
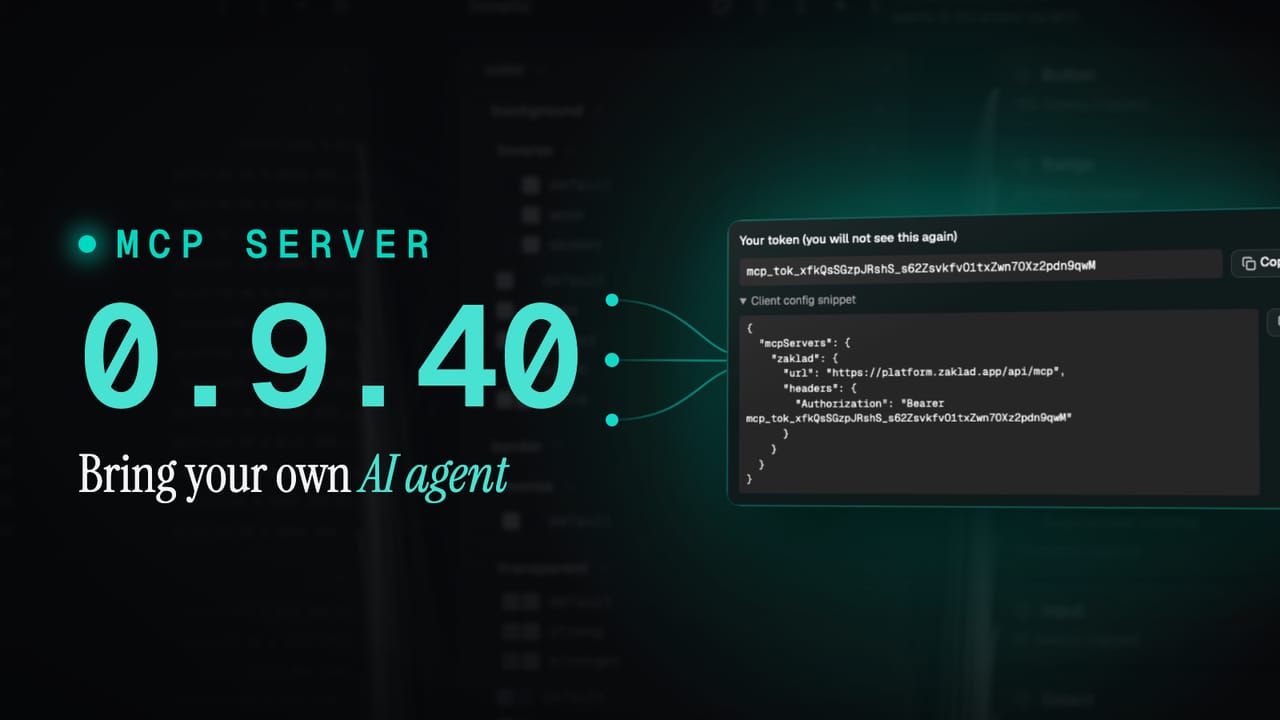
You do not have to write the description by hand either. The whole DESIGN.md feature is available two ways: through the interface, and over an MCP connection to your own AI agent. MCP is just the standard plumbing that lets an agent talk to your project directly.
Connect a capable agent and it can read the live system and draft the brief for you. Ask it to study your tokens and components and write a description, and it saves that one editable section back. Two tools cover it: one returns the full file, another updates the description. The read and write split is respected, so a read-only connection can fetch the file but never change it, and every write is recorded and can be undone. The docs cover the getdesigndoc tool and what a read-write token can update.
The file and the live connection suit different moments. Hand over the file when you just want a tool to understand your system for one conversation. Use the connection when you want an agent to read the system and apply changes straight back to it. Same system underneath, two ways in.
If you already work with an agent, setup is a short config. Open Project Settings, MCP / AI, generate a token, and you are handed a snippet with your key in it:
{
  "mcpServers": {
    "zaklad": {
      "url": "https://platform.zaklad.app/api/mcp",
      "headers": { "Authorization": "Bearer mcp_tok_..." }
    }
  }
}
Paste that to your agent and ask it to add the connection. Many will wire themselves up and connect straight back. Whichever route you take, interface or MCP, you are editing the same one file. There is nothing to keep in sync. The MCP docs walk through it end to end.
It keeps up with the tools
Generative design tools are moving quickly, and what each one reads best shifts with them. The format here is an open convention rather than anything proprietary, and we keep the generated output tuned to what the current tools handle well. As the landscape changes the file changes with it, and you pick up the improvement for free the next time yours rebuilds.
Try it on your own system
The fastest way to understand a DESIGN.md is to read your own. Point a project at your brand, open the DESIGN.md button, and hand the file to a tool you already use. Going from barely knowing what the file was to watching a tool rebuild a screen on your real system is a short trip, and it is the clearest picture of what a design system is actually for.
No system yet? That is fine. Point a new project at a single brand colour and you get a full token system, themes, and components to begin with, and a DESIGN.md that describes them from the first day. Start a project and generate yours, or see what else the platform does on the features page.